Three Ways to Make Yummy Cakes in your Kitchen with an Oven
Yes! If you’ve been putting off cake baking for so long, since you don’t own an oven, fret not! Here, in today’s post, we give you two methods of baking cakes in your kitchen, without an oven. Yes, you read that right. No fancy gadgets and exotic ingredients.
We give you three fail-safe methods to bake the best cakes at home, with ingredients you’ve got lying around in your pantry.
No more excuses, for not baking a cake. Without further delay, let’s get started.
Method 1: Microwave Mug Cakes

These cakes have been doing the rounds for quite some time now. Easy to bake and ready in minutes, mug cakes are the perfect way to beat the late-afternoon hunger pangs. Whether you’re craving for something sweet on the weekend or if your kiddo wants a delicious, tasty snack after school, this one’s perfect for you.
Recipe: Microwaved Choco-chip Mug Cake
Serving Size: 1
Ingredients:
- All-purpose flour – ½ cup
- Baking soda, baking powder – a tiny pinch
- Granulated sugar – 1 tbsp
- Choco chips – 25 g or 1 – 2 tbsp
- Salt – a small pinch
Procedure:
- Take a microwave-safe mug. Mix flour, baking powder, baking soda, salt, sugar, and milk. Mix well with a fork.
- Ensure that there are no lumps formed. To do this, mix the dry ingredients well first. Then, slowly add in the wet ingredient (milk) mixing while doing it.
- Ideally, there should be at least a space of 1 inch between the top of the mug and the top of the batter. This is because as the cake rises, the batter may overflow and spill out if there isn’t sufficient space.
- If you have more batter, divide it between two mugs.
- Sprinkle the chocolate chips on the batter. Mix until it gets evenly distributed.
- You can skip the choco-chips if you prefer a plain sponge cake. Any other additions like finely chopped walnuts, pistachios or even sprinkles work fine.
- Microwave the mug on high for 60 seconds.
- Check if the cake is done, by inserting a toothpick into the center. If it comes out clean, without any batter, then it means that the cake is done.
- If your cake is not done, microwave it on 10-second increments till its done.
- Enjoy immediately. You can eat it directly out of the mug. Top with chocolate syrup, whipped cream or powdered sugar for added flavor.
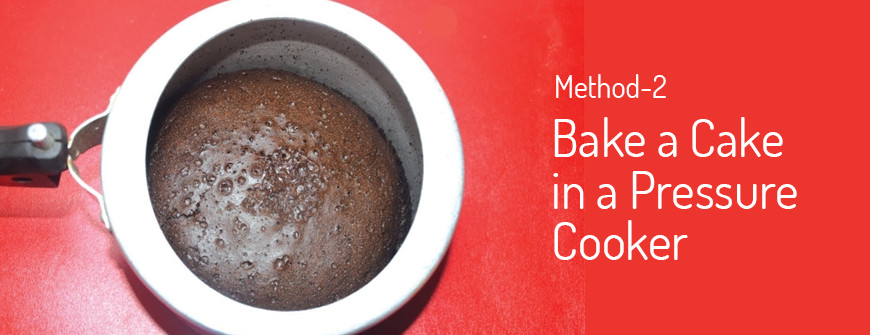
Method 2: Bake a Cake in a Pressure Cooker

Yes, the humble pressure cooker can help you make soft, fluffy cakes right in your kitchen. Here are a few tips and guidelines, to bake cakes using a cooker.
- Start with a simple, uncomplicated recipe. Don’t go in for fancy ones with a lot of ingredients. Plain vanilla or chocolate cakes are an excellent choice. Once, you get the hang of it; you can move on to complicated recipes.
- Just prepare the batter as mentioned in the recipe. Both eggless and egg cakes work great for pressure cookers.
- Take a cooker that has a capacity of at least 3 liters. With smaller cookers, you run the risk of burning the cake. 5-liter cookers are the ones most recommended by expert bakers.
- Remove the gasket from the cooker. This is the black, round thing that you place on the lid. This is an important step. Also, you don’t need the whistle.
- Most pressure cookers come with a perforated steel stand. This stand is placed inside the cooker lining the bottom. The purpose of this stand is to spread the heat inside the cooker uniformly. If you’ve got this one, great. Else, no worries. You can use a steel plate or lid.
- The purpose of this plate is that you don’t want your cake pan to touch the bottom of the cooker directly. The bottom of your cooker is what gets heated quickly. You don’t want your cake’s bottom to cook before the rest. This is the reason why we separate the cake pan from the bottom.
- An alternative is to line the bottom of the pan with fine sand. Layer sand for 3 – 5 inches lining the bottom of the cooker. Then place your cake pan on top of the sand layer.
- While baking the cake in your pressure cooker, don’t add any water to the cooker. Remember that we are baking and not steaming.
- Before, you start; you have to pre-heat the pressure cooker. Place the cooker on the stove or induction, with the lid on. Remember NO gasket, NO whistle, and NO water. Cook on high heat for around two minutes.
- Pour the batter in a cake pan (or any other bowl). The cake pan should fit snugly inside the pressure cooker without the sides of the pan touching the sides of the pressure cooker. Use a pot holder to lower the pan with batter carefully into the cooker.
- Close the lid of the cooker and cook on medium heat for around five minutes. Then reduce the heat to low, and let it cook for around 50 minutes to 1 hour.
- The actual time will depend on the size of your cake pan and the size of the pressure cooker.
- To test if the cake is done, use a toothpick or knife. If it comes out clean, then your cake is ready.
- While it’s okay to use a pressure cooker for baking cakes occasionally, if you’re a regular baker, then it pays sense to invest in an OTG.
- While baking cakes in a pressure cooker are fine, it may deteriorate the other parts of your cooker. So, it pays to watch manufacturer’s instructions. Use aluminum or stainless steel cookers. Avoid using non-stick cookers.
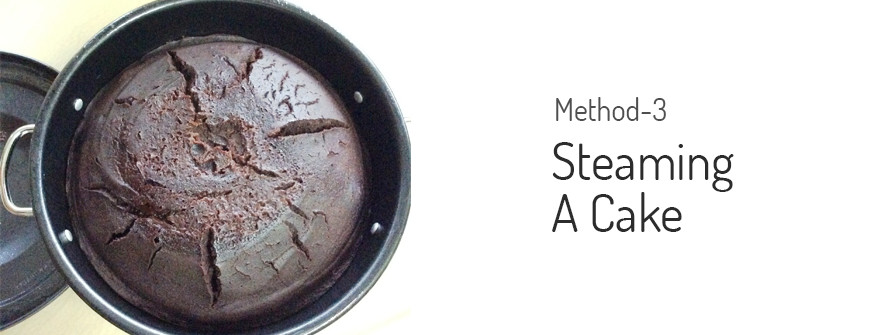
Method 3: Steaming a Cake

If you have a steamer (idli maker, dhokla maker), then you can steam cakes, instead of baking them. While this is an easy, interesting and a healthy option, you have to remember that the texture of steamed cakes is slightly different from the baked ones, you’re used to.
- Prepare the batter as usual. Follow the steps mentioned in the recipe as usual. As said before, start with non-fussy, simple cakes like vanilla or chocolate. Both eggs and eggless batters work here.
- Grease two pudding moulds, muffin cups or any other small bowls with butter and then dust it with flour.
- Small moulds work better than a large cake pan. When you use large pans, the middle may not be baked well. So, opt for smaller moulds.
- Cover the moulds tightly with aluminum foil. This is because if you leave them open, the water that condenses inside the steamer will fall into the batter. The result – you’ll be left with a gooey mess.
- Fill water in your steamer as usual. Place the moulds on the tray and close the lid.
- Steam for 25 – 30 minutes or until the top of the cake springs when touched. Alternatively, you can insert a knife or toothpick into the cake to check if it’s done.
- Let the cakes cool completely. Run a cool knife along the edges of the mould and gently invert the cake on to your serving plates.
- Serve hot. You can drizzle chocolate sauce on top of the cakes for added flavor.
The Last Word
Now, that you’ve learned the methods for baking cakes without an oven, what are you waiting for? Go ahead and give it a try and share with us the results of your experiments on our Facebook page or Instagram page. We would love to see and feature it.


